
Table of Contents
- What Is Smart Lighting and Why It Matters for Your Home
- Smart Bulb vs Smart Switch Installation: Which Is Right for You
- Smart Lighting Installation Cost and Budget Planning
- Step-by-Step Guide to Installing Smart Lighting Systems
- Benefits of Automated Home Lighting and Energy Savings
- Connectivity, Security, and Troubleshooting Smart Lighting
- Integration with Voice Assistants and Smart Home Ecosystems
- Professional vs. DIY Installation: When to Call a Certified Electrician
Last Updated: August 19, 2026
What Is Smart Lighting and Why It Matters for Your Home
Smart lighting installation for residential properties transforms how you control illumination throughout your home. Unlike traditional fixed lighting, smart systems let you adjust brightness, color temperature, and scheduling from your phone or voice commands, creating a personalized environment that adapts to your daily rhythms.
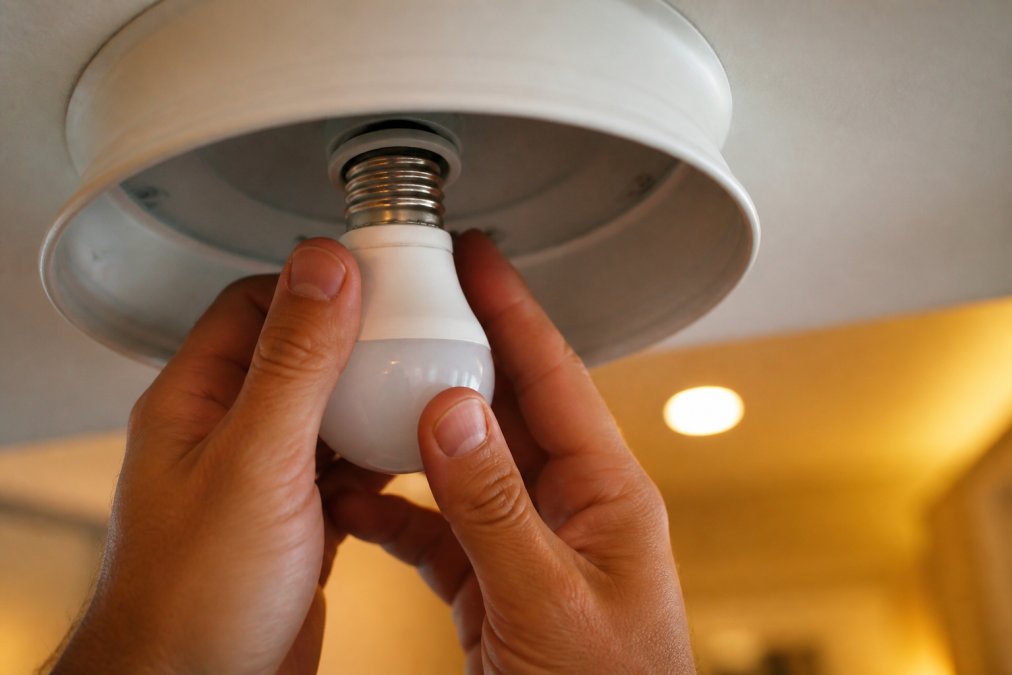
Smart lighting refers to connected light bulbs, switches, or fixtures that communicate through your home’s Wi-Fi, Zigbee, Z-Wave, or Bluetooth mesh network. These systems integrate into your smart home ecosystem, allowing remote access and automation routines that save energy while enhancing comfort and security.
Circadian lighting adjusts color temperature throughout the day to match natural light cycles, reducing eye strain and supporting better sleep. Motion-activated security lighting deters intruders. Geofencing routines turn lights off automatically when you leave, eliminating wasted energy and monthly costs.
At Alpha Guard, we help homeowners in the McAllen area understand that smart lighting isn’t just about convenience, it’s about creating a safer, more efficient home that works the way you actually live. The choice between smart bulbs and smart switches determines your entire approach, and getting that decision right upfront saves time and frustration.
Smart lighting installation for residential properties combines connected hardware, network infrastructure, and automation logic to give you control over your home’s lighting in ways traditional systems cannot match.
Smart Bulb vs Smart Switch Installation: Which Is Right for You
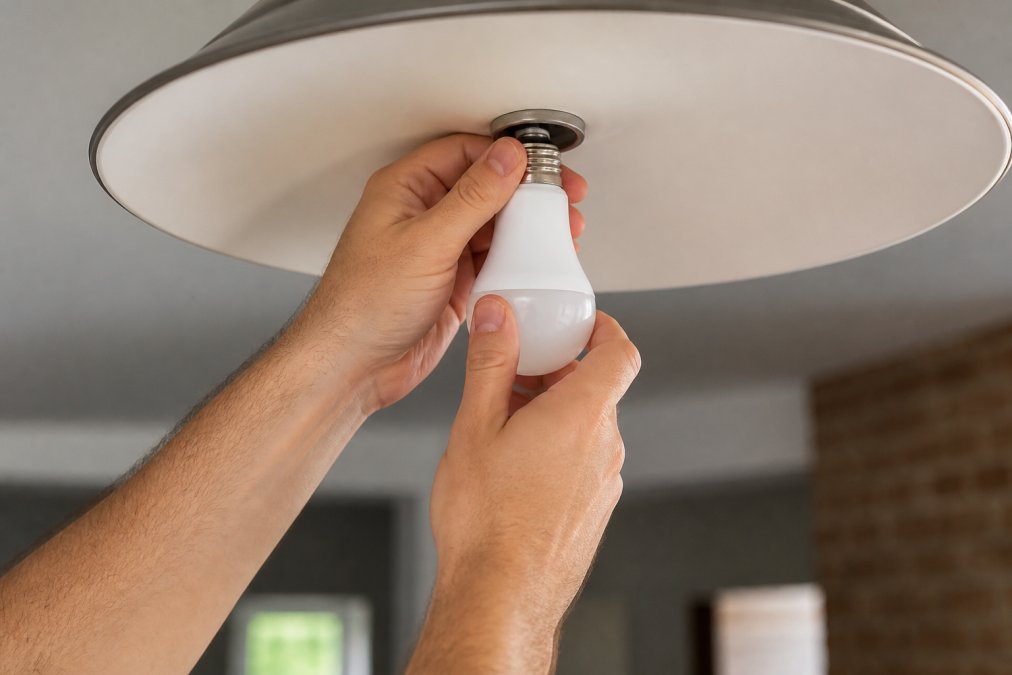
Smart bulbs replace your existing bulbs with connected versions. Installation is straightforward: unscrew the old bulb, screw in the smart bulb, and connect it to your network through a mobile app. You keep your existing switches unchanged. This approach works best if you rent, prefer flexibility, or want to upgrade gradually. The downside is cost, quality smart bulbs run higher per fixture, and you need one for every light you want to control.
Smart switches replace the physical switch itself, controlling any bulb in that fixture. One switch can manage multiple bulbs if they’re on the same circuit. Installation requires basic electrical work: turning off the breaker, removing the old switch, and wiring the new one in its place. Smart switches cost less per controlled fixture over time and work with any bulb type. The tradeoff is that installation demands more technical knowledge or a licensed electrician.
For most residential properties, the choice depends on your comfort level and living situation. Renters benefit from smart bulbs because they’re portable. Homeowners planning to stay long-term often prefer smart switches for cost efficiency and cleaner aesthetics. A hybrid approach works too, smart switches in high-traffic areas like hallways and kitchens, smart bulbs in bedrooms or accent lighting.
If you’re uncertain about your commitment to smart lighting, start with two or three smart bulbs in fixtures you use daily. You’ll quickly learn whether the automation and remote access justify the investment before upgrading your entire home.
Smart Lighting Installation Cost and Budget Planning
Installation costs vary dramatically based on whether you choose smart bulbs, smart switches, or a combination. Smart bulbs typically cost more upfront per bulb but require no electrical work. Smart switches cost less per controlled fixture but demand either DIY electrical skill or professional installation labor.
Budget planning requires understanding three cost categories: hardware, labor, and network infrastructure. A hub-based system (Zigbee, Z-Wave) requires purchasing a central hub that coordinates communication between devices. Hubless systems (Wi-Fi connected) skip the hub but rely entirely on your router’s strength and coverage.
For a typical residential property with 15-20 light fixtures, expect to budget for hardware costs, installation labor if you hire a professional, and potentially a hub or mesh network extender if your home has dead zones. Pricing depends on quantity, dates, and delivery, contact Alpha Guard for a personalized estimate based on your specific property layout and preferences.
Many homeowners underestimate the value of professional installation. A certified electrician ensures code compliance, proper wiring, and system reliability. DIY installation saves labor costs but risks incorrect wiring that damages fixtures or creates safety hazards.
Attempting electrical work without proper knowledge can result in fire hazards, equipment damage, or injury. If you’re uncomfortable with wiring, hire a professional. The cost difference is usually small compared to the risk of doing it incorrectly.
Step-by-Step Guide to Installing Smart Lighting Systems
What You’ll Need Before Starting
Gather the right tools and materials before beginning. You’ll need a screwdriver set (Phillips and flathead), wire strippers, a voltage tester to confirm power is off, and potentially a ladder. For smart bulbs, you need only the bulbs themselves and your smartphone to download the manufacturer’s app.
For smart switch installation, you’ll need the new switches, appropriate wire gauge if running new circuits, wire connectors, and electrical tape. A voltage tester is non-negotiable, it confirms the circuit is dead before you touch any wiring. Most residential properties use standard 14-gauge or 12-gauge wire.
Check your network setup. Your Wi-Fi router must reach the areas where you’re installing smart lights. If using a Zigbee or Z-Wave hub, confirm you have the hub powered and connected to your network before installing any devices.
Installation Steps for Hub-Based Systems
Hub-based systems (Zigbee, Z-Wave) require a central coordinator device that all lights communicate through. This adds a step upfront but creates more reliable connections, especially in larger homes.
Step 1: Set up your hub. Power the hub and connect it to your network according to the manufacturer’s instructions. Allow 5-10 minutes for the hub to fully initialize.
Step 2: Install your first device. Start with one fixture close to the hub. For smart bulbs, simply screw in the bulb and power on the fixture. For smart switches, turn off the breaker, remove the old switch, and wire the new one following the manufacturer’s wiring diagram. Take photos of your old switch’s wiring before disconnecting anything.
Step 3: Add the device to your hub. Open the hub’s app and initiate pairing mode. Trigger the device to pair, for bulbs, this might mean turning the light on and off rapidly; for switches, it’s usually a button on the switch itself. The hub will discover the device within 30 seconds to 2 minutes.
Step 4: Expand your network. Add additional devices in order of proximity to your hub. Devices closer to the hub pair faster and create a stronger mesh network.
Step 5: Create automation routines. Once all devices are added, set up schedules and automations through the app. You can create routines like "Good Morning" (lights gradually brighten at 6:30 AM) or "Away" (all lights turn off when the last person leaves). Test each routine before relying on it.
Installation Steps for Hubless Systems
Hubless systems (Wi-Fi connected) eliminate the hub but require stronger Wi-Fi coverage. These systems are faster to set up but less reliable in homes with weak signals.
Step 1: Verify Wi-Fi coverage. Check signal strength at each fixture location using your phone’s Wi-Fi analyzer. You need at least -70 dBm signal strength for reliable smart light connectivity. If coverage is weak, consider adding a Wi-Fi mesh extender before installing lights.
Step 2: Install and power the device. For smart bulbs, screw them in and power on the fixture. For smart switches, follow the same wiring process as hub-based systems.
Step 3: Connect to your network. Open the manufacturer’s app and select "Add Device." The app will search for your new light on your Wi-Fi network. Enter your Wi-Fi password when prompted. The device typically connects within 30-60 seconds.
Step 4: Assign to rooms. Once connected, assign each light to a room in the app. This organization makes voice control and automation easier.
Step 5: Configure automation. Set up schedules and scenes. Test voice control if you’ve integrated your lights with Alexa, Google Home, or another assistant. Confirm that remote access works by controlling a light from outside your home network.
For hubless systems, position your router centrally in your home and avoid placing it in enclosed cabinets. Walls, metal objects, and distance significantly weaken Wi-Fi signals. If you have a two-story home, a mesh Wi-Fi system is worth the investment to ensure consistent coverage.
Benefits of Automated Home Lighting and Energy Savings
Automated home lighting delivers tangible benefits beyond convenience. Lights that turn off automatically when you leave a room eliminate waste from forgotten lights. Dimming capabilities reduce energy consumption, a 50% dimmed light uses roughly half the energy of full brightness.
Scheduling routines create consistent behavior patterns that save money. Lights that turn on at sunset and off at 11 PM in unoccupied rooms prevent all-night waste. Circadian lighting adjusts color temperature from warm (2700K) in the evening to cooler (5000K) in the morning, aligning your home’s light with natural cycles and supporting better sleep quality.
Security lighting provides measurable protection. Motion-activated outdoor lights deter intruders by eliminating dark entry points. Randomized indoor lighting when you’re away creates the appearance of occupancy, preventing burglaries during extended absences.
Property value improvements emerge from modern smart home integration. Homes with smart lighting systems appeal to tech-savvy buyers and command premium prices. Comfort improvements are deeply personal, waking gradually to lights that brighten over 30 minutes feels dramatically better than sudden brightness.
Connectivity, Security, and Troubleshooting Smart Lighting
Smart lighting systems depend on reliable connectivity. Understanding how your devices communicate prevents frustration when problems arise.
Connectivity fundamentals: Wi-Fi systems connect directly to your router but consume bandwidth and can suffer interference from microwaves and cordless phones. Zigbee and Z-Wave operate on separate frequencies with less interference but require a hub. Bluetooth mesh networks create a local network that doesn’t depend on your router but have shorter range per device.
Common connectivity issues and fixes: If a device stops responding, first check that your router is functioning and the device still has power. Restart the device by turning off power for 30 seconds, then turning it back on. If a device loses connection repeatedly, move it closer to your hub or router. Dead zones require adding a repeater device or repositioning your hub.
Latency (delay between command and light response) indicates connectivity problems. Slight delays of 1-2 seconds are normal for Wi-Fi systems. Delays over 5 seconds suggest weak signal or network congestion. Reduce latency by minimizing interference or upgrading to a dedicated mesh network for your smart home devices.
Security and privacy considerations: Smart lights connected to the internet create potential vulnerabilities. Use strong, unique passwords for your smart home accounts and enable two-factor authentication if available. Keep firmware updated by checking the app periodically for device updates. Disable remote access if you don’t need to control lights while away from home. Consider privacy implications of voice assistants, devices with always-listening microphones record and process voice data.
Troubleshooting workflow: When a light malfunctions, follow this sequence: (1) Confirm power is reaching the device. (2) Restart the device. (3) Check connectivity by moving the device closer to your hub or router. (4) Remove and re-add the device to your system. (5) Check the manufacturer’s support documentation. (6) Contact the manufacturer’s support team if basic troubleshooting fails.
Integration with Voice Assistants and Smart Home Ecosystems
Voice control transforms smart lighting from convenient to essential. Speaking commands like "Alexa, dim the living room to 40%" works hands-free, invaluable when you’re carrying groceries or holding a child.
Most smart lighting systems integrate with major voice assistants. Amazon Alexa, Google Assistant, and Apple Siri all support smart lights through their respective ecosystems. Integration requires linking your smart lighting account to your voice assistant account through the respective apps.
Voice control works best when you’ve named lights logically in your smart lighting app. "Kitchen lights," "master bedroom," and "front porch" are clear names. Avoid generic names like "Light 1" or "Bulb A."
Smart home ecosystems extend beyond lighting. A complete ecosystem might include smart thermostats, door locks, security cameras, and smart speakers. These systems work together through automation, a "Goodnight" routine might lock doors, arm security cameras, adjust the thermostat to 68°F, and turn off all lights except a dim bathroom light.
Compatibility matters when choosing devices. Not all smart lights work with all hubs or voice assistants. Research compatibility before purchasing. The smart home ecosystem you choose creates lock-in, switching ecosystems later is disruptive because you’d need to replace all your devices.
Professional vs. DIY Installation: When to Call a Certified Electrician
The decision between professional and DIY installation hinges on complexity, electrical knowledge, and risk tolerance.
DIY installation advantages: You save labor costs, which can be substantial for large projects. For smart bulb installations, DIY is straightforward and risk-free, anyone can screw in a bulb and connect it to an app.
DIY installation limitations: Smart switch installation requires basic electrical knowledge. You must understand circuit breakers, wire colors (black is hot, white is neutral, bare copper is ground), and proper wire connections. Mistakes create fire hazards, equipment damage, or personal injury.
Professional installation advantages: A certified electrician ensures code compliance. Electrical codes exist to prevent fires and injuries. Licensed electricians carry insurance protecting you if something goes wrong. They work efficiently and troubleshoot unexpected issues like discovering old aluminum wiring or discovering that your circuit is already at capacity.
Professional installation costs: Labor costs vary by region and project complexity. A single smart switch installation might cost $100-200 in labor. A whole-home project with 20+ fixtures could cost $1,000-3,000 in labor. Get multiple quotes before committing. Alpha Guard can provide professional installation through certified electricians who understand both electrical work and smart home integration.
When to hire a professional: If you’re replacing switches, hire a professional. If your home has aluminum wiring (common in homes built 1965-1975), hire a professional. If you’re uncertain about any step, hire a professional.
Hybrid approach: Many homeowners hire a professional for switch installation but handle smart bulbs themselves. This combines cost savings with professional-grade reliability where it matters most.
Alpha Guard’s certified and insured professionals handle smart lighting installation for residential properties with the expertise and accountability that protects your home. We understand local electrical codes and ensure your system is safe, reliable, and optimized for your property’s specific layout and needs. Our guaranteed structural workmanship means you’re protected if anything goes wrong.
Smart lighting installation for residential properties is no longer a luxury, it’s a practical upgrade that improves energy efficiency, enhances security, and increases property value. Whether you choose smart bulbs for flexibility or smart switches for cost efficiency, the right system transforms how you interact with your home’s lighting.
The complexity of installation varies dramatically based on your choices. Smart bulb installation anyone can handle. Smart switch installation requires electrical knowledge or professional help. Rather than guessing whether you’re capable, assess honestly. If you’ve never worked with electrical circuits, the labor cost of hiring a professional is worth the safety and peace of mind.
Alpha Guard delivers certified and insured professional installation that guarantees your smart lighting system works reliably from day one. Our team handles the electrical work, network configuration, and automation setup, leaving you with a fully functional system you can control from your phone or voice commands. Get a free estimate to see how professional smart lighting installation can enhance your home’s safety, efficiency, and comfort.
Frequently Asked Questions
Do you need a licensed electrician for smart lighting installation?
Simple smart bulb replacements require no electrician, you can install them yourself by screwing them into existing fixtures. However, smart switch installation, wiring modifications, or hub setup involving electrical connections should be handled by a licensed electrician to ensure safety and code compliance. A certified professional can also help with complex smart home ecosystem integration and troubleshoot connectivity issues that DIY approaches may not resolve.
What's the difference between smart bulbs and smart switches for installation?
Smart bulbs screw directly into existing fixtures with no wiring changes needed, plug and play. Smart switches replace your current wall switches and require turning off power at the breaker and connecting wires, making them more involved. Bulbs offer flexibility since you can move them between fixtures; switches control entire circuits. For rental properties or renters, smart bulbs are simpler; for permanent installations, smart switches offer cleaner integration and broader automation capabilities across multiple fixtures.
Does installing smart lights increase your monthly electric bill?
Smart lights actually reduce energy consumption compared to traditional incandescent or halogen bulbs. LED smart bulbs use 75% less energy than incandescent bulbs and last 25,000+ hours. Automated scheduling, dimming, and geofencing features help you avoid leaving lights on unnecessarily. The hub and wireless connectivity (Zigbee, Z-Wave, Wi-Fi) consume minimal power. Most homeowners see lower monthly bills after switching to smart lighting, especially when combined with automated routines that turn off lights based on occupancy or time of day.
What are the main downsides of smart lighting systems?
Common challenges include upfront costs (hubs and bulbs), Wi-Fi or Bluetooth connectivity issues in homes with poor signal, compatibility problems between brands and protocols (Zigbee vs. Z-Wave vs. Wi-Fi), and firmware updates that occasionally cause disruptions. Privacy concerns exist with cloud-connected systems and data collection. Latency can affect response times with voice commands. Older homes may need electrical upgrades to support certain installations. Battery-powered smart switches require periodic replacement. Starting with a single ecosystem (one hub and compatible bulbs) minimizes these issues.
Can smart lighting integrate with existing home security systems?
Yes, most modern smart lighting systems integrate with security platforms through automation routines and mobile app control. You can set lights to turn on when motion is detected, simulate occupancy while you're away, or trigger lighting when security sensors activate. Voice assistant integration (Alexa, Google Assistant) allows remote control and geofencing-based automation. However, integration quality depends on whether your security system and lighting platform support the same smart home hub or communication protocol. Professional installation ensures proper ecosystem compatibility and security configuration.
What smart lighting system works best for residential properties?
The best system depends on your home's layout, existing infrastructure, and automation goals. Hub-based systems (Zigbee, Z-Wave) offer superior range and reliability in larger homes but require an initial hub investment. Hubless Wi-Fi systems are simpler to set up but may struggle with connectivity in homes with poor signal or many connected devices. For most residential properties, starting with a reputable brand's ecosystem (Philips Hue, LIFX, or similar) ensures broad voice assistant compatibility and reliable automation. Certified professionals can assess your home's specific needs and recommend the optimal configuration.
How much does smart lighting installation cost for a residential home?
Smart lighting installation cost varies significantly based on system type, number of fixtures, and whether you hire a professional. DIY smart bulb installation costs $15-50 per bulb; smart switches range $30-150 each. A hub adds $50-300. Professional installation labor depends on complexity, simple bulb replacements may cost $50-200 total, while switch installation and ecosystem setup can run $500-2,000+. Contact Alpha Guard for a free estimate tailored to your property's specific requirements, wiring layout, and automation goals. Financing options are available to make upgrades more accessible.
This article was written using GrandRanker