
Table of Contents
- What Is Scope Creep and Why It Matters in Construction
- Recognizing the Signs of Project Scope Creep Early
- Step 1: Define Your Project Scope and Requirements
- Step 2: Use a Construction Contract Scope of Work Template
- Step 3: Establish a Construction Change Order Process
- Step 4: Communicate Expectations and Monitor Progress
- Step 5: Document Changes and Protect Your Project Baseline
- Conclusion
Last Updated: August 25, 2026
What Is Scope Creep and Why It Matters in Construction
Scope creep is the uncontrolled expansion of a construction project’s deliverables, timeline, or budget beyond what was originally agreed upon. It happens when clients request changes or add features without formally adjusting the contract, timeline, or budget. In construction, preventing scope creep is critical because even small additions compound quickly, a "quick change" to framing becomes electrical rework, which delays inspections, which pushes the completion date, which triggers penalties or disputes.
The real cost isn’t just extra labor. It’s the domino effect: subcontractors scheduled for the next job, material suppliers’ locked-in delivery dates, crew morale tanking when deadlines slip. A project that was supposed to run 8 weeks stretches to 12. The client gets frustrated. You lose margin. The relationship sours.
At Alpha Guard, we manage residential home improvement projects, roofing installations, custom outdoor living spaces, fencing work, and comprehensive renovations. The pattern is consistent: projects with clear scope boundaries and formal change control processes stay on budget and on schedule.
This guide walks you through five concrete steps to establish preventing scope creep in construction from the start. You’ll learn how to define scope clearly, document changes, and communicate expectations so surprises don’t happen mid-project.
The single biggest mistake is treating scope creep like a problem to manage. It’s not. It’s a problem to prevent. The difference is enormous. Prevention costs nothing. Management costs everything.
Recognizing the Signs of Project Scope Creep Early
Scope creep rarely announces itself. It arrives as a casual conversation: "While you’re here, could you also…" or "I was thinking we could add…" By the time you realize the cumulative impact, you’re already overcommitted.
Learn to recognize the early warning signs:
Verbal requests without documentation. A client mentions a change in conversation and assumes you’ll incorporate it without putting it in writing. Three weeks later, you haven’t done it, they’re frustrated, and there’s no record of the request.
"While you’re here" additions. The client realizes mid-project they want something else done, add an outlet, relocate a fixture, extend the fence line. Each might add 2-4 hours of work (bls.gov). Five of these and you’ve added a full week.
Vague scope definition. The original contract says "install fencing" without specifying materials, height, line placement, or gate type. When work starts, the client realizes they had different expectations.
Timeline pressure without budget adjustment. The client wants the project done faster but doesn’t want to pay more or add crew. You either miss the deadline, cut corners, or absorb the cost.
Scope creep from the contractor side. Your own team adds work without approval, extra finishing touches or "improvements" they think the client will love. This erodes margin and sets a precedent that scope can shift without discussion.
The antidote is a written scope of work that’s specific enough to eliminate guessing, paired with a formal change order process that requires documentation before any work changes.
Verbal agreements about scope changes almost always end in disputes. Someone remembers the conversation differently, or one party forgets it happened entirely. Always require written documentation before work changes.
Step 1: Define Your Project Scope and Requirements
Clear scope definition is the foundation. Without it, preventing scope creep in construction becomes impossible because you and the client are working from different mental pictures of what "done" looks like.
Create a detailed project scope statement that covers every element the client might wonder about. This isn’t vague language like "install roofing." It’s specific: materials (asphalt shingles, architectural grade, color), dimensions (square footage), prep work included (removal of old roof, disposal, deck inspection), timeline (start and completion dates), and exclusions (what you’re NOT doing).
For a custom outdoor living space, specify the exact layout, materials, finishes, what’s included (construction labor, basic grading, standard lighting) and what costs extra (premium materials, complex drainage, custom stonework). For fencing, detail the fence line, materials, height, gate specifications, and site preparation.
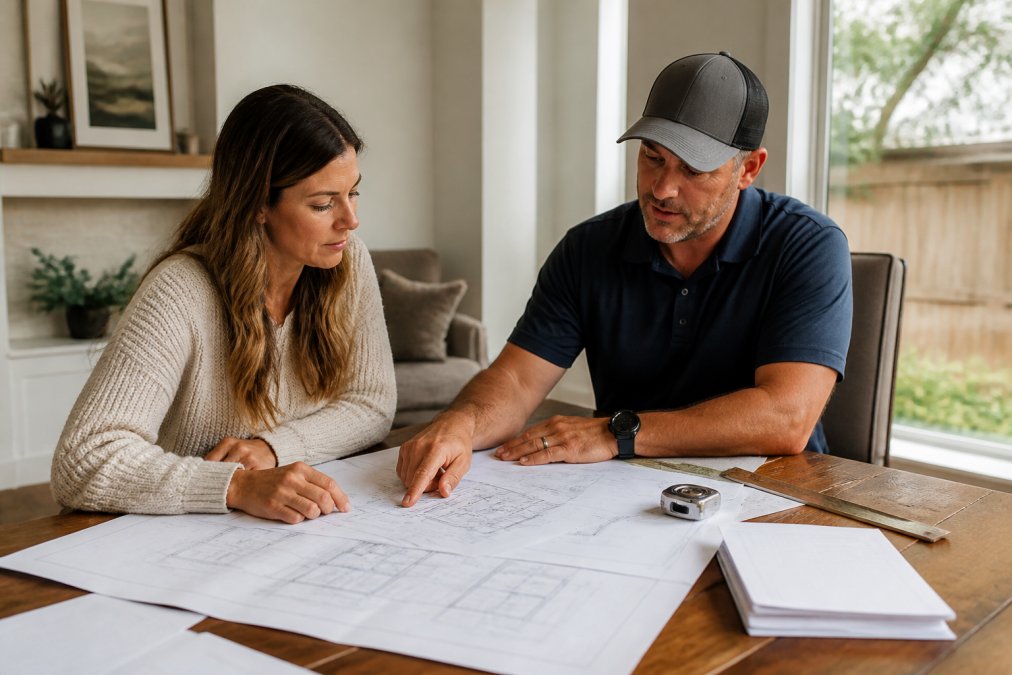
Get the client to sign off on this scope statement before work begins. This becomes your baseline. Any request outside this scope triggers the change order process.
Use a scope of work template specific to your trade. Your template should include:
- Project address and description
- Specific materials, colors, and grades
- Square footage, linear footage, or unit counts
- Site conditions assumed
- Work included and excluded
- Timeline (start and completion dates)
- Payment schedule
- Signature lines for both parties
Having a template ensures you don’t miss critical details and shows the client you’re organized and professional.
A detailed scope statement signed by both parties is your legal and operational baseline. Every change request is measured against it. Without it, you have no clear definition of what “done” means.
Step 2: Use a Construction Contract Scope of Work Template
Your contract’s scope of work section is where preventing scope creep in construction gets legally binding. A generic contract won’t protect you. You need one that explicitly defines what’s included, what’s excluded, and how changes are handled.
A strong construction contract scope of work template includes:
Detailed materials list. Don’t say "roofing materials." Specify: "Architectural-grade asphalt shingles, IKO Dynasty series, color: charcoal gray, with ice and water shield underlayment and standard flashing." This removes ambiguity about quality and cost.
Exclusions section. State clearly what you’re NOT doing. "Does not include: removal of existing gutters, chimney repair, attic ventilation upgrades, or site grading beyond basic cleanup." Exclusions prevent clients from assuming work is included.
Site condition assumptions. Document what you expect to find. "Assumes existing roof deck is sound and requires no structural repair. If repairs are needed, they will be quoted separately as a change order." This protects you if the property has hidden problems.
Payment schedule. Tie payments to milestones. For roofing: 25% upon signing, 50% when old roof is removed and deck inspected, 25% upon completion (nrca.net). For fencing: 30% upon signing, 40% when posts are set and approved, 30% upon completion. This ensures cash flow and gives the client checkpoints to verify work quality.
Change order process. Your contract must state that any work outside the scope requires a written change order signed by both parties before work begins. No exceptions.
A construction contract scope of work template should be reviewed by a legal professional familiar with your state’s construction laws. Using a template specific to your state and trade protects you.
Step 3: Establish a Construction Change Order Process
Even with a clear scope, changes happen. A formal change order process ensures these changes are documented, priced, approved, and scheduled before work begins.
A construction change order process includes these steps:
Request documentation. The client submits a change request in writing describing what’s changing and why. Use a simple form: date, description of change, reason, requested completion date. Verbal requests don’t count.
Cost and timeline estimate. Provide a written estimate: how much it costs, how many hours/days it adds to the timeline, and when it can be completed. "Additional $800 and 6 hours of labor" is clear. "Additional cost TBD" is not.
Approval and signature. The client reviews the change order estimate and signs it. They’re agreeing to the additional cost and timeline impact before you do the work. No signature, no work.
Schedule coordination. Confirm the change fits your schedule and your subcontractors’ schedules before starting work.
Documentation and tracking. Keep a running log of all approved change orders. At project close, you can show the client exactly what changed, why, and what it cost.
Payment adjustment. Update the total contract price and payment schedule to reflect the change order.
The change order process protects both you and the client. For the client, it ensures they understand the cost and timeline impact before committing. For you, it creates a paper trail that prevents disputes.
Common mistakes:
Starting work before the change order is signed. This is how you end up doing unpaid work. Wait for the signature.
Underestimating change order costs. Build in a buffer for unknowns.
Not updating the schedule. The change order should always include a new completion date.
A change order isn’t punishment for the client. It’s protection for both parties. Frame it that way: “I want to make sure we’re on the same page about the cost and timeline before I start the work.”
Step 4: Communicate Expectations and Monitor Progress
Clear communication prevents scope creep before it starts. Many projects drift because the client and contractor have different expectations about what’s happening, when, and how it looks.
Start with a kick-off meeting before work begins. Walk the client through the scope of work, timeline and key milestones, how changes are handled, communication protocol, site rules, and quality standards. Document this meeting and send a follow-up email summarizing what was discussed.
During the project, maintain regular communication. For a multi-week project, weekly check-ins are standard. For longer renovations, bi-weekly. The client should always know what’s happening and what’s coming next.
Use progress photos. Before and after photos of each phase create a visual record and give the client confidence that work is progressing.
Document site conditions and any issues discovered. If you find rot in the roof deck, take photos, document it in writing, and send it to the client with a change order estimate. Don’t just fix it and bill them later.

When the client requests something mid-project, listen carefully and ask clarifying questions. Once you understand what they actually want, you can determine if it’s in scope or requires a change order.
Set boundaries on scope creep from your own team. Instruct your crew that any work outside the approved scope requires approval. A crew member shouldn’t decide to add extra finishing touches without authorization.
Step 5: Document Changes and Protect Your Project Baseline
Documentation transforms preventing scope creep in construction from a good idea into a legal and operational reality. Every decision, change, and agreement should be in writing.
Maintain a project file that includes:
- The signed contract and scope of work
- All approved change orders (signed by both parties)
- Photos of site conditions at start and after each phase
- Inspection reports and permits
- Subcontractor agreements and timesheets
- Payment records and invoices
- Email correspondence about decisions or changes
- Any site issues discovered and how they were resolved
This file serves multiple purposes: it’s a reference for your team, proof of what was agreed upon if a dispute arises, and a record of what worked for future projects.
Protecting the project baseline means:
Resisting scope expansion without documentation. When a client asks for something extra, respond consistently: "That’s outside the original scope. Let me prepare a change order so we’re clear on the cost and timeline."
Saying no when necessary. Not every request should be approved. If a change would compromise quality, delay other work, or require capabilities you don’t have, decline or propose an alternative. Document the decision.
Tracking cumulative impact. Five small changes add up. Track the total scope expansion. If it’s significant, consider whether the project is still profitable.
Closing the project formally. At completion, prepare a final project summary documenting the original scope, all approved changes, final cost, and completion date. Have the client sign off on completion.
Your project file is your protection. It’s also your best tool for understanding what went right and wrong so you improve on the next project. Review it after every project and extract lessons.
Preventing scope creep in construction starts before the first shovel hits the ground. A detailed scope of work, a clear contract with a formal change order process, consistent communication, and thorough documentation create a framework where scope stays controlled and projects stay profitable.
At Alpha Guard, our certified and insured professionals manage scope carefully on every project, from roofing installations and fencing to custom outdoor living spaces and comprehensive home renovations. We use detailed scope statements, formal change order processes, and regular client communication to ensure projects deliver what was promised, on time and within budget. If you’sre planning a home improvement project and want to avoid scope creep, get a free estimate from Alpha Guard and see how clear scope definition protects your investment.
Frequently Asked Questions
Q: What are the most common causes of scope creep in home renovations?
A: Scope creep typically stems from vague project requirements, lack of written documentation, and unclear communication between homeowners and contractors. Clients often request changes mid-project without understanding the cost and schedule impact. Missing details in the initial scope definition, such as material specifications, finish options, or site conditions, create openings for misinterpretation. Verbal agreements without written confirmation are particularly prone to disputes about what was actually promised.
Q: How can homeowners prevent scope creep during a project?
A: Start with a detailed construction contract scope of work template that specifies every deliverable, material, and finish. Establish a formal construction change order process before work begins, requiring written approval and cost estimates for any changes. Hold regular communication meetings with your contractor to monitor progress and address concerns early. Document all decisions in writing, and protect your project baseline by treating the original scope as your reference point. Never approve changes verbally, require signed change orders.
Q: What is the difference between a change order and scope creep?
A: Scope creep is uncontrolled, undocumented expansion of project work beyond the original agreement. A change order is the formal, documented process for modifying the scope with agreed-upon cost and schedule adjustments. Scope creep happens when changes occur without this formal process. Using a construction change order process transforms scope creep from a problem into a managed decision, ensuring both you and your contractor understand the financial and timeline consequences before work proceeds.
Q: How does scope creep impact the final cost of a construction project?
A: Scope creep directly increases project costs through unplanned materials, labor, and timeline extensions. Each undocumented change requires the contractor to purchase additional materials, reassign workers, and adjust schedules, all at higher cost than if included in the original bid. By preventing scope creep through clear documentation and a formal change order process, you maintain budget control and avoid surprise charges at project completion.
This article was written using GrandRanker